How to Successfully Replace Your Shower Door Hinges Without Professional Help
Shower Door Hinge Replacement is a crucial home maintenance task that many homeowners overlook, yet it significantly impacts the functionality and aesthetics of your bathroom. According to recent reports by the Home Improvement Research Institute, nearly 40% of homeowners encounter issues with their shower doors over time, largely due to wear and tear on the hinges. Failure to address these problems can lead to leaks and further damage, which may cost up to 30% more in repairs. Fortunately, replacing shower door hinges is a manageable DIY project that not only saves you the expense of hiring a professional but also empowers you as a homeowner. With the right tools and a step-by-step approach, you can ensure your shower doors operate smoothly and maintain a polished look, enhancing both safety and beauty in your bathroom space.
Understanding the Importance of Shower Door Hinges and Their Functionality
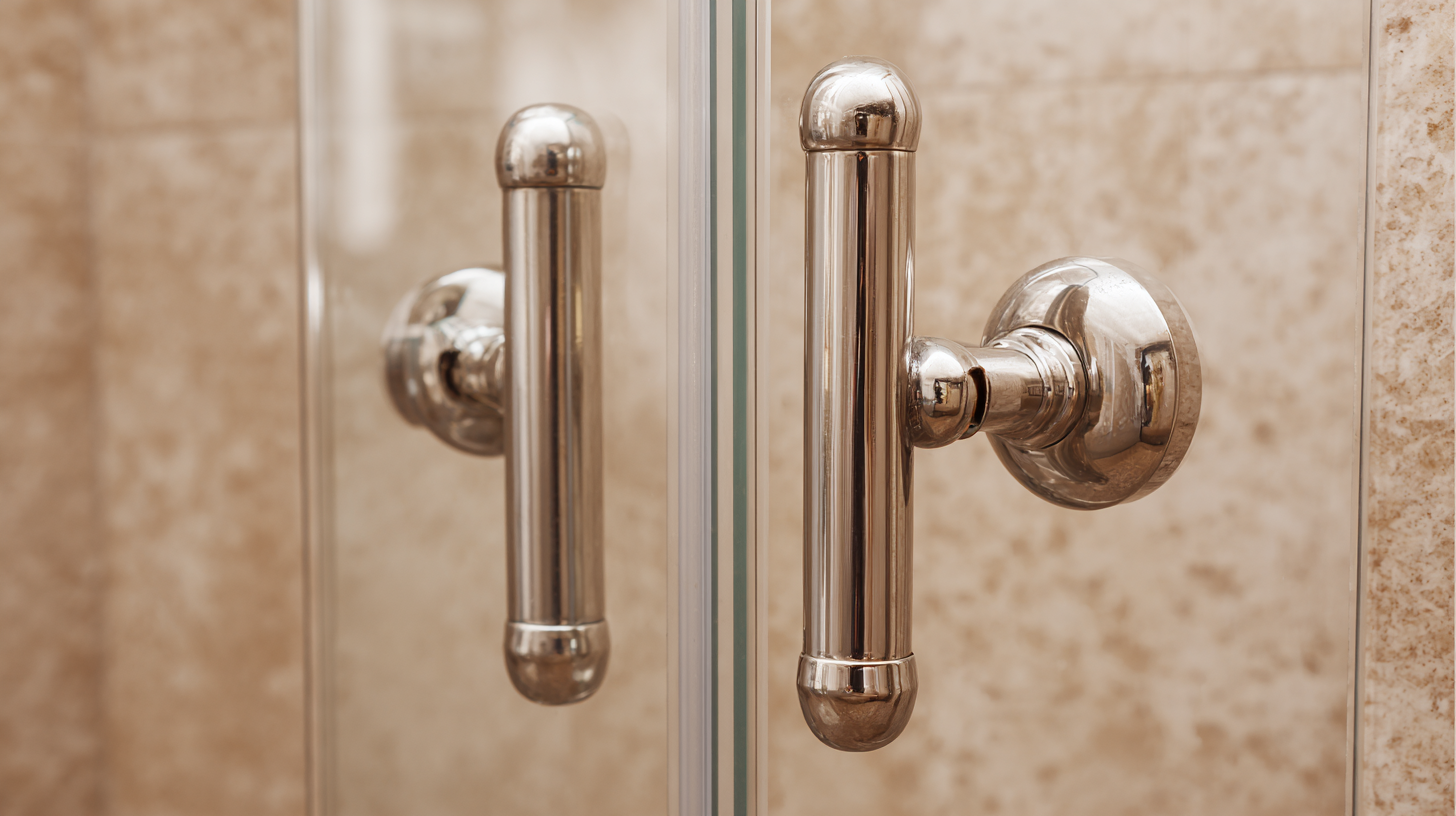
Shower door hinges play a crucial role in ensuring the functionality and durability of your shower enclosure. According to a report by the National Association of Home Builders, over 70% of homeowners prioritize functional hardware when selecting shower doors, emphasizing how vital hinges are to overall user satisfaction. These small yet essential components affect not only the door's movement but also its ability to maintain a watertight seal, which prevents water leakage and potential damage to your bathroom.
Additionally, the longevity of shower door hinges significantly impacts maintenance costs. The Home Improvement Research Institute indicates that replacing worn-out hinges can prolong the lifespan of your shower doors by up to 50%, thereby reducing the need for early replacements. Properly functioning hinges prevent misalignment and unnecessary strain on the glass, enhancing safety and performance. Understanding their functionality not only helps you appreciate their importance but also encourages you to undertake simple maintenance tasks, such as regular lubrication and inspection, to ensure your shower remains in top condition.
How to Successfully Replace Your Shower Door Hinges Without Professional Help
| Component |
Functionality |
Materials |
Installation Tips |
| Hinge Type |
Allows door to pivot |
Brass, Stainless Steel |
Ensure alignment before tightening screws |
| Screw Type |
Secures the hinge |
Stainless Steel, Zinc-coated |
Use appropriate drill bit size |
| Plastic Washers |
Reduces friction between parts |
Plastic |
Replace old washers for smoother operation |
| Lubricant |
Facilitates smooth movement |
Silicone-based Lubricant |
Apply to hinges after installation |
| Door Leveling |
Ensures proper door alignment |
N/A |
Adjust screws carefully |
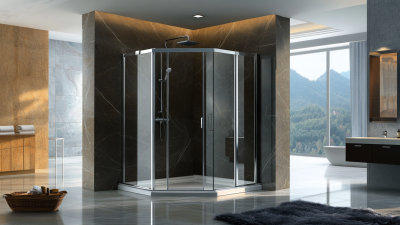
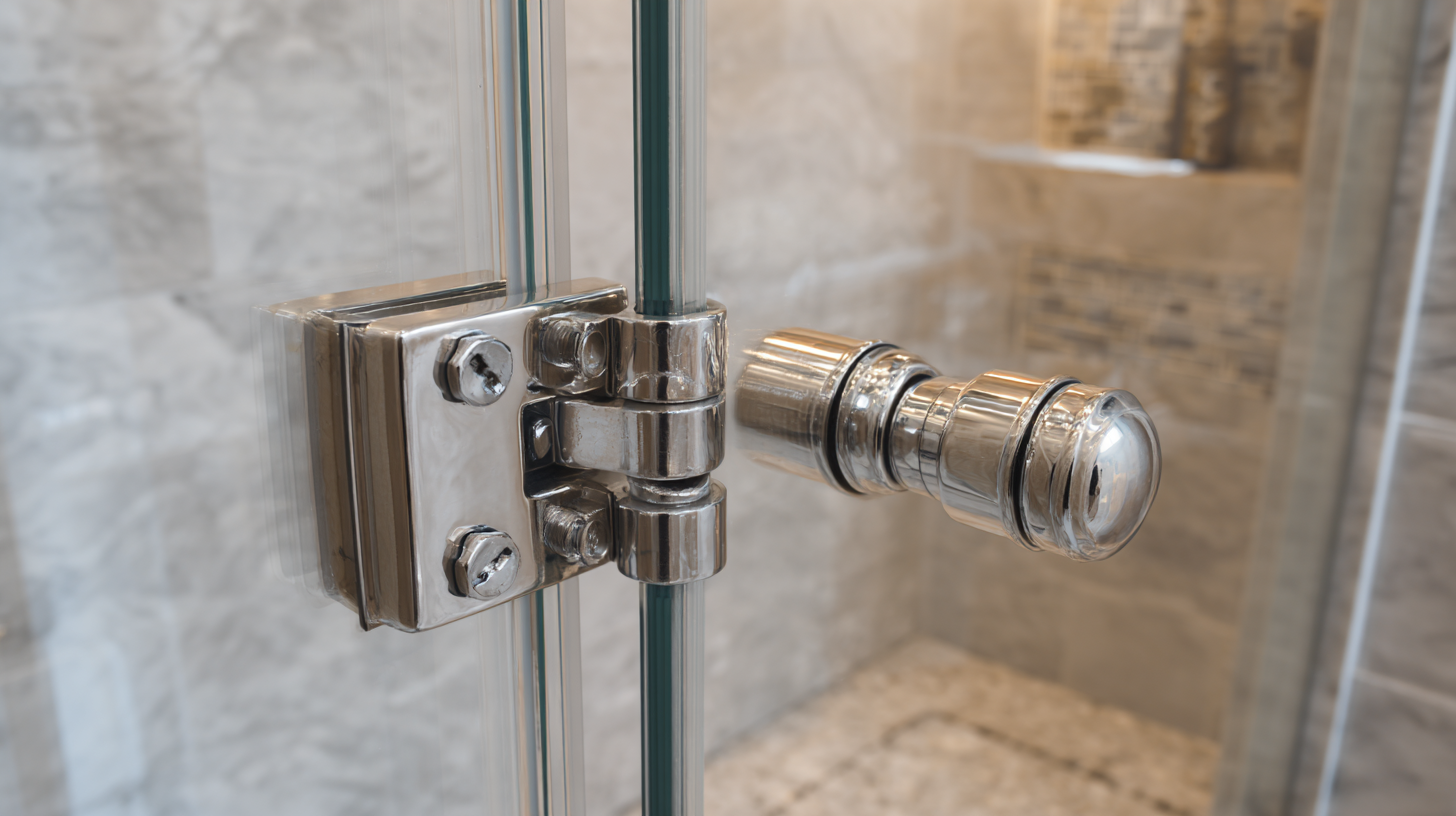
Common Types of Shower Door Hinges: Pros and Cons
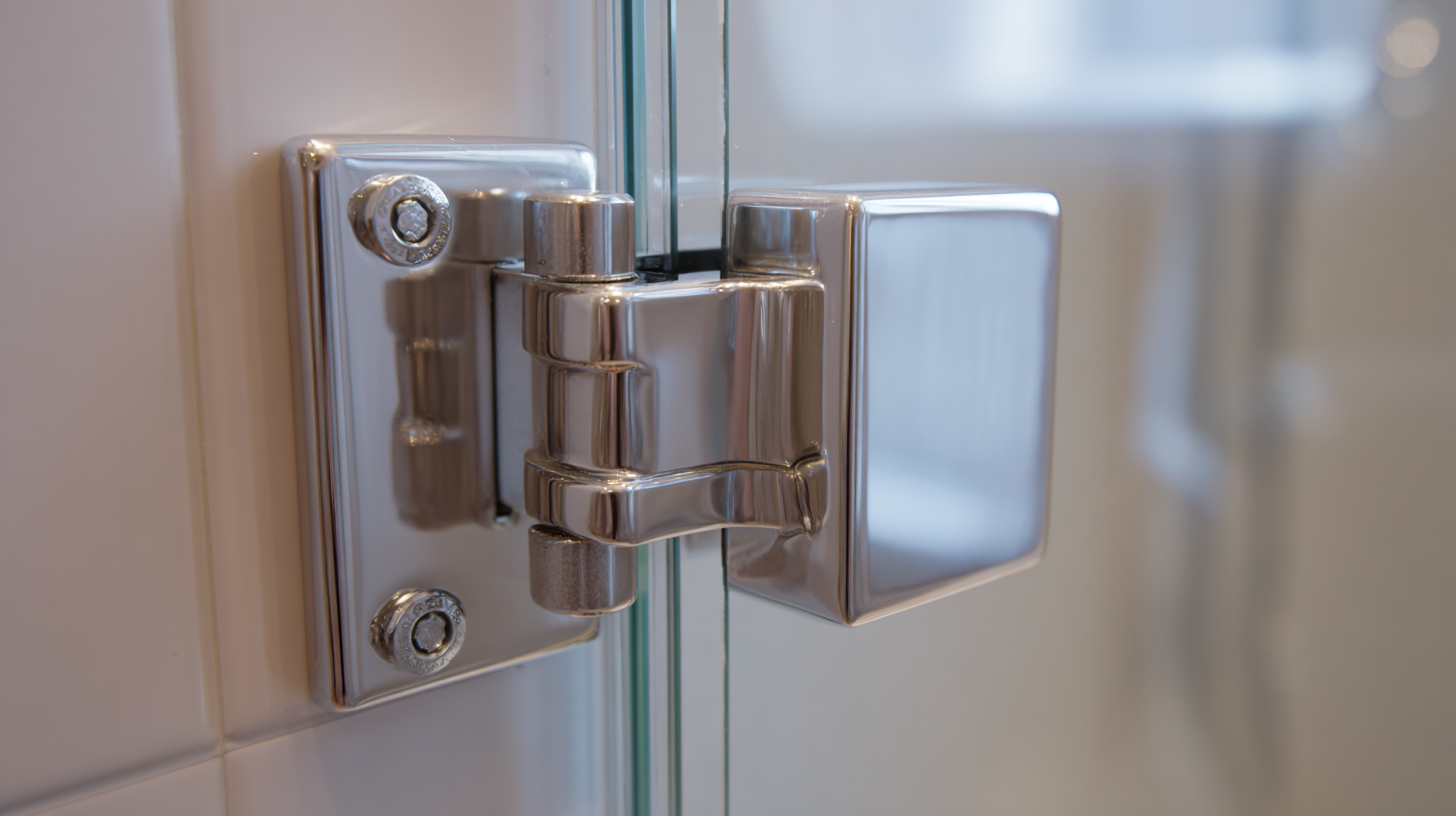 When considering replacing shower door hinges, it’s essential to understand the common types available and their respective pros and cons. The most prevalent styles include pivot hinges, bi-fold hinges, and sliding door hinges. According to a report by the Home Improvement Research Institute (HIRI), over 40% of homeowners prefer pivot or hinge doors due to their aesthetic appeal and ease of use in modern bathrooms.
Pivot hinges offer the advantage of allowing doors to swing open and close smoothly while maintaining a sleek look. However, they typically require more precise installation to avoid alignment issues. On the other hand, bi-fold hinges are favored for compact spaces, enabling a folding door solution that creates an open feel. While they save space, industry data indicates that they may be less durable over time, particularly in high-moisture environments.
Sliding door hinges are another popular option, especially for larger shower areas. The sliding mechanism can be easier on space, but maintenance can be tricky, with dirt and grime buildup compromising functionality. A survey by the National Kitchen & Bath Association (NKBA) revealed that 60% of homeowners reported issues with sliding doors compared to pivot-equipped showers. Choosing the right hinge type is crucial for functionality and longevity, making it imperative to weigh these factors carefully during the replacement process.
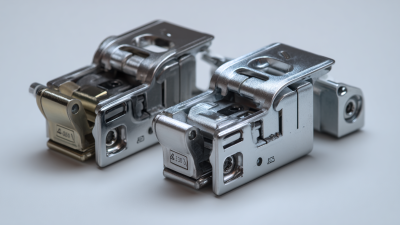
Essential Tools and Materials Needed for Replacing Shower Door Hinges
When replacing shower door hinges, having the right tools and materials is crucial for a successful DIY project. According to a report by the Remodeling Magazine, homeowners can save an average of 20-30% on labor costs by tackling simple renovations themselves. To get started, you'll need essential tools such as a screwdriver, a wrench, and a level. Additionally, a drill may be necessary for any modifications to existing hinge placements. It's also wise to have a rubber mallet on hand to assist in gentle adjustments without damaging the door frame.
Materials required typically include replacement hinges that are compatible with your shower door type, as well as associated hardware like screws and washers. A study from the Home Improvement Research Institute suggests that opting for high-quality stainless steel hinges can enhance the longevity of your shower door, preventing rust and corrosion. Before beginning the installation, measure the existing hinges properly, as this ensures the new ones fit seamlessly. Proper preparation with the right materials will not only make the replacement process smoother but also significantly improve the durability and aesthetic of your shower doors.
Step-by-Step Guide to Safely Remove and Install Shower Door Hinges
Replacing your shower door hinges can seem daunting, but with the right approach, you can do it safely and effectively without hiring a professional. This step-by-step guide will streamline the process, ensuring you have the necessary tools and knowledge to complete the task with confidence.
First, gather your tools: a screwdriver, pliers, and a level are essential. Start by removing the old hinges carefully. Use the screwdriver to unscrew the hinges from the door and the wall mount. It's crucial to support the shower door while unscrewing to prevent it from falling. Once you’ve removed the hinges, clean the area thoroughly to ensure no debris interferes with the installation of the new hinges.
When installing new hinges, check the alignment closely. It’s essential for the door to operate smoothly. Use a level to ensure it is straight, adjusting the position as needed before securing the hinges. A helpful tip is to test the door's movement after tightening each hinge; this allows you to make small adjustments along the way. With patience and attention to detail, your new shower door hinges will be installed perfectly.
Tips for Ensuring a Long-lasting and Secure Shower Door Installation
Replacing shower door hinges can seem daunting, but with the right tips, you can ensure a long-lasting and secure installation. According to a report from the Home Improvement Research Institute, about 30% of all home improvement projects involve bathroom upgrades, with a significant portion focusing on shower renovations. Proper installation of hinges is crucial; misalignment can lead to water leaks, which are a leading cause of mold and mildew in bathrooms.
When installing new hinges, it’s essential to choose high-quality materials. Stainless steel is often recommended due to its durability and resistance to corrosion. In fact, research indicates that replacing standard brass hinges with stainless steel can increase the hinge lifespan by nearly 50%, making it a worthwhile investment for homeowners.
Additionally, ensuring that hinges are securely attached to both the door and the wall with the right size screws will provide better stability and reduce the risk of damage over time. As with any home improvement task, taking the time to follow best practices can prevent future headaches and improve the overall functionality of your shower enclosure.